When tackling wall repairs or prepping drywall for painting, two common materials come into play: spackling and joint compound. Although they may appear similar, they serve distinct purposes based on the type and scope of the project. Understanding the differences between spackling vs. joint compound can help you choose the right product, save time, and achieve a more professional-looking finish. Knowing when and where to use each ensures better adhesion, smoother results, and less frustration during touch-ups or complete renovations. Choosing the wrong one can create additional work and compromise the integrity of your repairs. That’s why it’s essential to know their strengths and limitations before you begin.
How Spackling vs. Joint Compound Differ in Materials and Usage
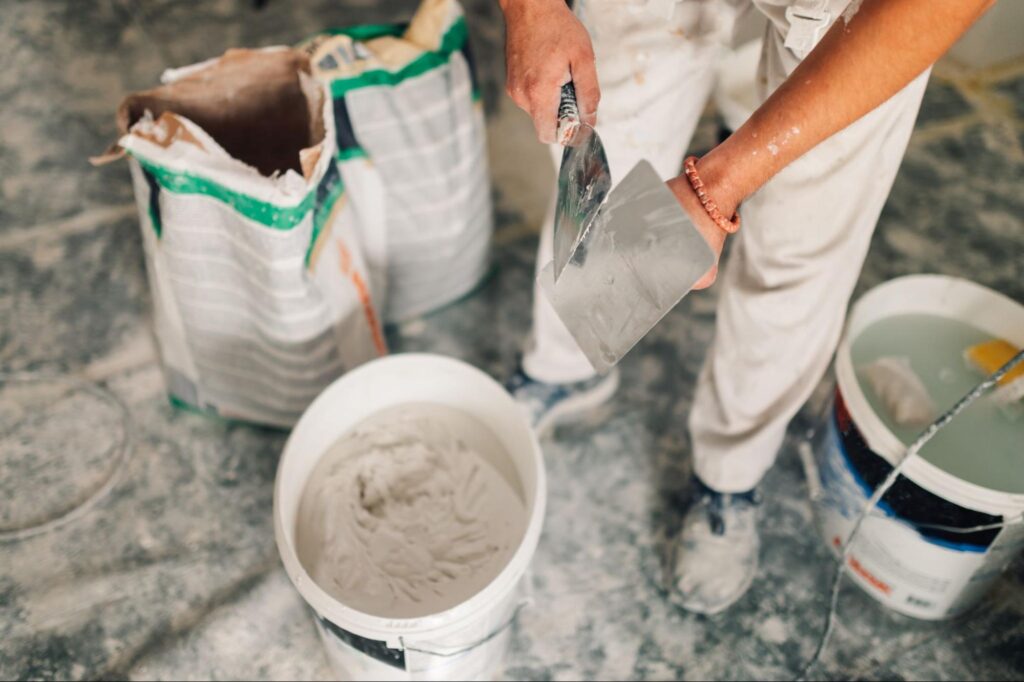
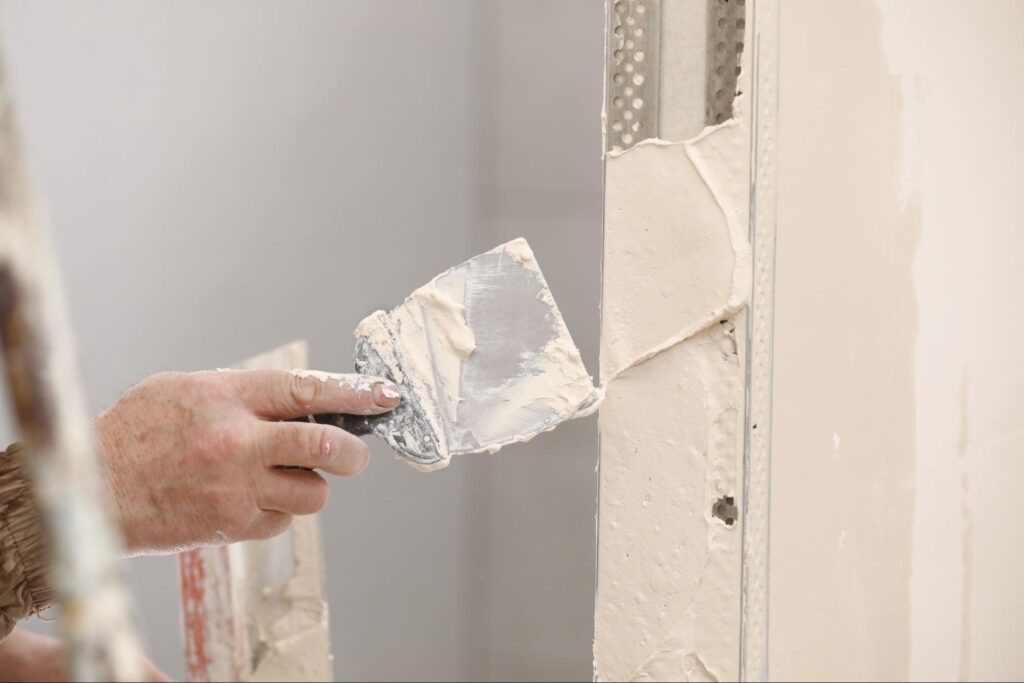
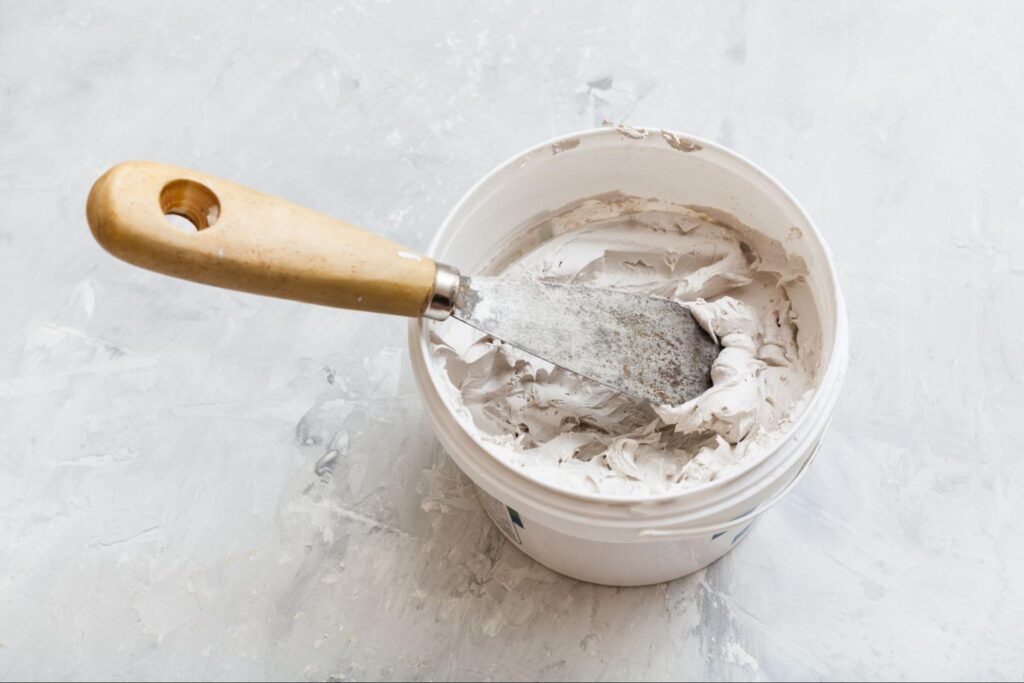
Spackling is a paste-like material made from a lightweight gypsum or vinyl-based formulation and is for minor repairs—think nail holes, dents, and minor cracks on painted or finished walls. It’s perfect for cosmetic fixes that don’t require structural reinforcement and often come ready to use straight from the container. Joint compound, commonly referred to as “mud,” is also gypsum-based but primarily used in drywall installation for embedding tape, covering seams, and leveling large surface areas. It typically comes in large tubs or powder form and requires mixing before use, making it more suited for larger, multi-phase projects. While spackling offers convenience for minor fixes, the joint compound provides more versatility for foundational and exterior structural wall work.
Drying Time Differences in Spackling vs. Joint Compound
One of the key differences in the spackling vs. joint compound debate is drying time. Spackling dries much faster, often within 30 minutes for lightweight versions, making it ideal for quick repairs or same-day painting. Joint compound, on the other hand, requires more time—especially when applied in thicker coats or across wide surfaces. This extended drying period allows for more precise smoothing but demands more time between layers. Rushing the drying process can result in poor adhesion and cracking; therefore, it’s essential to follow the recommended wait times.
Best Option for Beginners: Spackling vs. Joint Compound
For DIYers and first-time repairers, spackling is generally the more beginner-friendly option. It comes ready to use, spreads easily, and doesn’t require multiple layers, making it ideal for quick fixes like nail holes or minor dents. A simple putty knife is often all you need to apply and smooth out the material. Joint compound, on the other hand, requires a more practiced hand—especially when taping drywall seams or feathering over wide surfaces. Technique and patience are key to avoiding visible ridges or uneven finishes. Because it dries slower and usually requires sanding between layers, joint compound can be more intimidating for newcomers. However, with a bit of practice, even beginners can start achieving smooth, professional-grade results. Choosing the right material for your skill level can make the process more efficient and far less frustrating.
Where to Apply Spackling vs. Joint Compound for Best Results
When it comes to surface compatibility, spackling vs. joint compound shows apparent differences in where each product performs best. Spackling is ideal for minor repairs on already painted walls, wood trim, baseboards, and other smooth interior painted surfaces. It bonds well to sealed areas, making it ideal for cosmetic fixes where speed and appearance are crucial. Joint compound, by contrast, is best suited for raw drywall and unfinished plasterboard, where it can properly adhere and be layered for taping or full-surface smoothing. It’s generally not recommended for finished wood or previously painted areas unless you plan to skim coat the entire surface.
What Types of Spackling Are Available?
Spackling comes in several variations tailored to specific needs. Each type is formulated for different repair depths, surface materials, and flexibility requirements. Choosing the right kind—whether lightweight for quick fixes or vinyl-based for added durability—can make your repair faster, cleaner, and more effective.
Lightweight Spackle
A lightweight spackle is ideal for shallow holes and fast drying. It spreads easily, requires minimal sanding, and is perfect for filling nail holes or minor wall blemishes. Because it dries so quickly, it’s an excellent choice for last-minute repairs before painting.
Standard Spackle
Standard spackle is denser and suitable for medium-depth repairs. It provides better fill and strength than lightweight formulas, making it useful for slightly larger imperfections. It strikes a balance between ease of use and durability for general residential painting fixes.
Heavy-Duty Spackle
A heavy-duty spackle is designed to handle larger or deeper patches. It has a thicker consistency and is built to withstand more pressure or stress over time. This thicker consistency makes it a reliable option for high-traffic areas or commercially painted places that may experience minor wall movement.
Vinyl Spackle
Vinyl spackle offers added flexibility and is resistant to cracking in areas with slight movement, such as corners or trim. Its elasticity helps it hold up better in locations where temperature or humidity changes might affect the wall surface. It’s also a good choice for repairing trim, molding, or other detailed architectural features.
What Types of Joint Compounds Are Available?
The joint compound also comes in a few types, each serving different stages of drywall finishing. Understanding which type to use at each phase of your project can significantly improve the finish quality and reduce the need for sanding or rework later on.
All-Purpose Compound
All-purpose compound handles taping, coating, and finishing, though it may shrink more. It’s a versatile option commonly used by both DIY enthusiasts and professional painters for its convenience and reliability. While it may not excel in any one category, it performs well across most drywall applications, making it ideal for general use.
Topping Compound
The topping compound is softer and easier to sand, making it ideal for the final coats. It creates a smooth, polished surface that’s perfect for painting or texturing. However, it’s not recommended for initial taping or deep filling, as it lacks the strength of all-purpose or setting compounds.
Setting-Type Compound
Setting-type compound dries via a chemical reaction instead of air, allowing for faster work times but creating a more rigid, difficult-to-sand surface. It’s instrumental in time-sensitive jobs or areas prone to high humidity where air-drying compounds may struggle. Because it sets quickly, it’s best suited for experienced users who can apply it efficiently before it hardens.
The Difference in Eco-Friendliness of Spackling vs. Joint Compound
As environmental awareness grows, more spackling and joint compound products are being formulated with safety and sustainability in mind. Many manufacturers offer low-VOC (volatile organic compounds) formulas that release fewer harmful fumes, making them much safer for indoor use, especially in homes with children, pets, or individuals with respiratory sensitivities. Products labeled “low-odor” or “indoor-safe” are a good indication that the material is designed with environmental and health considerations in mind. These alternatives typically perform just as well as traditional formulas without sacrificing quality or ease of application. Choosing eco-conscious materials not only improves indoor air quality but also aligns with sustainable building practices.
The Most Frequent Mistakes in Spackling vs. Joint Compound Projects
There are several common mistakes people make when using spackling or joint compound, and avoiding them can save you both time and frustration. One frequent error is using spackling for significant gaps or structural repairs—it’s not designed for that purpose and will likely crack or fail over time. Using joint compound for tiny holes is excessive and wastes material. Another issue is sanding too soon, which can damage the repair and leave uneven surfaces, as both products require sufficient drying time before finishing. Understanding these missteps ahead of time will help ensure a smoother process and a more professional-looking result.
Cleaning Up After Spackling vs. Joint Compound Repairs
Cleanup requirements vary significantly between spackling vs. joint compound. Spackling is relatively low-maintenance—wipe your tools clean and reseal the container for future use. It produces minimal mess, making it ideal for quick indoor repairs. Joint compounds, on the other hand, can create substantial dust during sanding, especially when working over vast areas or applying multiple layers. This dust can settle on nearby surfaces and linger in the air, so it’s essential to use protective gear, such as masks, and cover surrounding spaces with plastic sheeting or drop cloths. Failing to follow these precautions can result in a challenging cleanup and potential respiratory irritation. Taking the time to prepare and maintain a clean workspace not only protects your health but also ensures a more efficient and professional finish.
How Spackling vs. Joint Compound Are Sold and Stored
Spackling and joint compound are readily available at most hardware stores and home improvement retailers, making them easily accessible for any project, regardless of size. Spackling typically comes in small tubs, jars, or squeeze tubes, which are convenient for storage and perfect for quick, minor repairs. Joint compound, on the other hand, is typically sold in large, pre-mixed buckets or dry powder bags that require mixing before use, making it better suited for larger jobs or ongoing projects. Some manufacturers also offer tinted versions of joint compounds to enhance visibility during sanding and aid in identifying high or low spots during finishing. When choosing between options, consider your project’s scale, the amount of storage space available, and the speed at which you’ll need to use the material.
Spackling vs. Joint Compound: Choosing the Best Option for Your Needs
When it comes to choosing between spackling vs. joint compound, the best option depends entirely on the scope and type of your project. Spackling is ideal for quick fixes, minor surface blemishes, and easy DIY repairs—especially when time or skill level is limited. Joint compound, on the other hand, excels in larger, more structural applications such as taping drywall seams, smoothing wide areas, and creating a seamless finish in professional-grade work. Understanding the strengths and limitations of each material helps you avoid unnecessary setbacks, reduce waste, and deliver a cleaner, more durable result. Whether you’re handling a small patch job or planning a full-scale renovation, using the right product will streamline the process and elevate the overall quality of your work.
To learn more about spackling vs. joint compound, visit our Euro Painting blog.