When drying time is misjudged, minor drywall repairs can stall a project. Property owners managing renovations or minor fixes need realistic expectations. Spackle may look dry within minutes, but painting over it too soon leads to peeling, cracks, or uneven surfaces. Timing the drying stage right ensures your work holds up and finishes clean.
What Is Spackle and How Is It Used on Walls?
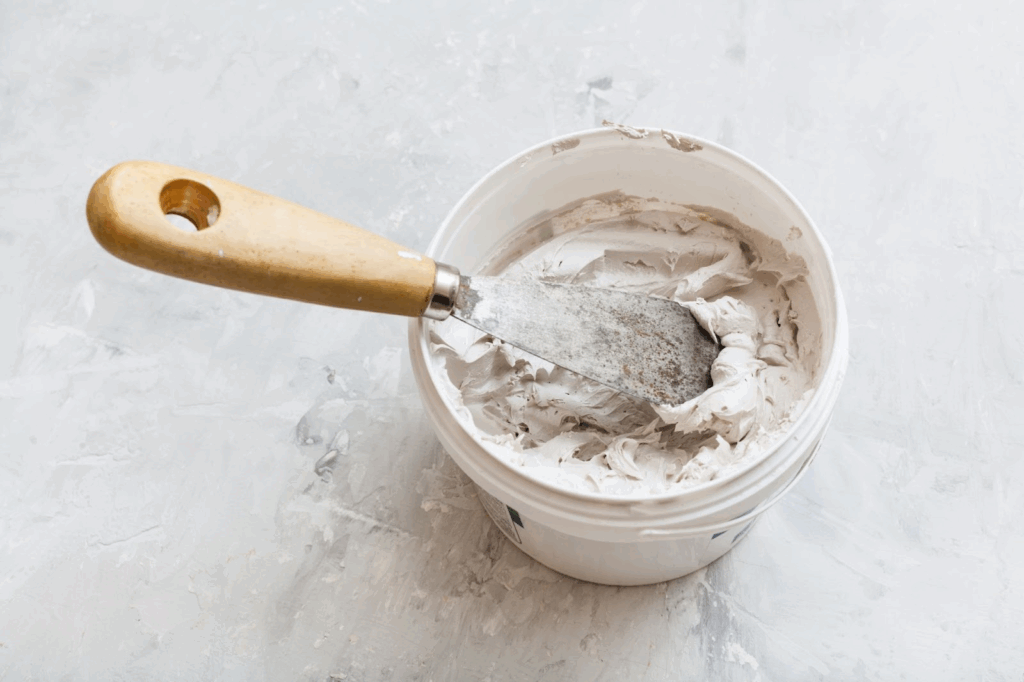
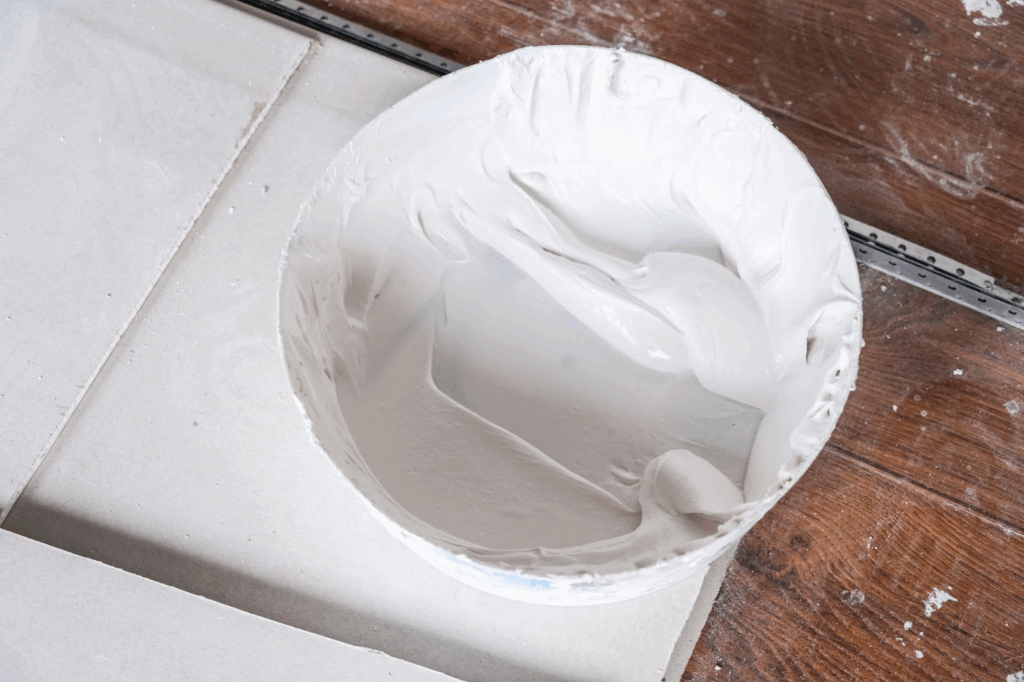
Spackle is a smooth, paste-like compound that fills small holes, cracks, and surface imperfections in drywall or plaster. It’s commonly applied with a putty knife to create a flat surface before painting or refinishing walls. Spackling, the process of applying spackle, helps restore walls after nail removals, minor damage, or aging. Different formulas are available, including lightweight for quick fixes and heavy-duty for deeper repairs. Once applied and dried, spackle is sanded to blend with the wall’s surface. It’s a go-to material for property owners handling cosmetic repairs or prepping spaces for resale or rent.
Typical Spackle Drying Time for Homeowners
Depending on the product, spare drying times range from 15 minutes to 24 hours. Lightweight spackles dry faster, while heavy-duty types need more time. Environmental conditions and patch size can also affect drying time. Knowing what type you’re using is key to staying on schedule.
Lightweight Spackle
Lightweight spackle is ideal for fast touch-ups like nail holes or shallow dents. It dries quickly when applied thinly, often within 15 to 30 minutes under normal room conditions. These products contain air-filled compounds that evaporate faster than denser mixes. They’re excellent for light jobs that need quick painting or sanding. However, even lightweight spackle may need up to an hour if applied too thickly. It’s essential to wait until it feels substantial before moving on. Rushing the process can cause surface bubbling when painted.
Heavy Spackle
Heavier or all-purpose spackles are for deeper wall damage and filling wider gaps. Because they retain more moisture, drying takes longer, typically between four and 24 hours. These types form a stronger bond but need patience to set fully. Drying also slows in humid or cool spaces. Always allow deep applications to dry in stages rather than one thick layer. It prevents shrinkage, cracks, or internal wet spots. Check the hardness with a light press before sanding or painting.
Fast-Dry Formulas
Some fast-drying spackles can harden in as little as five minutes. They are usually labeled for quick-turn jobs or same-day painting. Since they set fast, they’re best used in small areas and require smooth application. While convenient, they’re not ideal for deep or structural patches. Improper use can lead to brittle results or uneven texture. If using these, be ready to sand and paint shortly after application. Always check the label for the full curing time before finishing.
Factors That Affect Spackle Drying Time
Drying time depends on more than just the product type. Room temperature, humidity, surface material, and application technique all impact the process. Even though the spackle is applied thickly, it changes how long it takes. Minor adjustments during prep can prevent delays and improve results.
Humidity
High humidity traps moisture inside the compound and slows evaporation. That means the spackle can stay soft for hours even if the surface appears dry. Dry indoor air helps speed up the process by pulling moisture out more quickly. Use a fan or dehumidifier to control humidity if needed. Rooms like bathrooms or basements naturally take longer to dry. Avoid patching on rainy days or during damp conditions. Controlling the air quality makes drying far more predictable.
Thick Layers
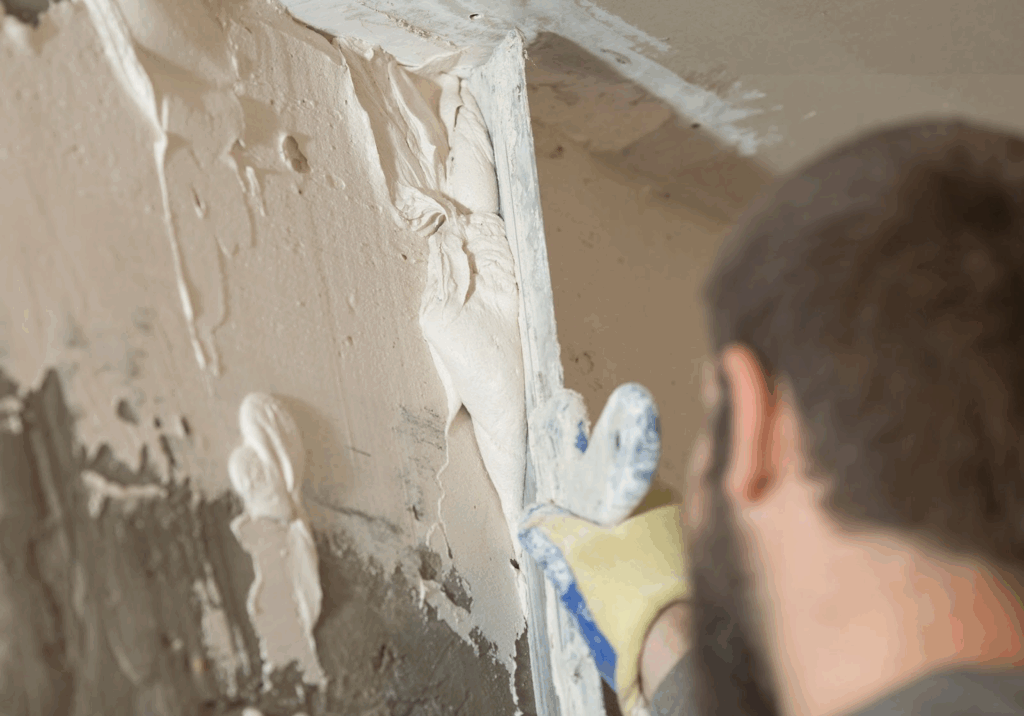
The thicker the spackle, the longer it takes to set. Moisture in deep layers can stay trapped long after the surface seems ready. Applying multiple thin layers is better than one heavy coat. Each thin layer should dry completely before the next is added. Deep holes should be built up in stages for even drying. Using a putty knife helps keep coats thin and flat. This technique saves time when sanding and finishing.
Surface Type
The wall material plays a role in how fast spackle dries. Bare drywall or wood can absorb moisture, helping spackle cure faster. Painted or glossy surfaces resist absorption, making drying slower. Cleaning and lightly scuffing slick surfaces improves adhesion and drying time. Dust, grease, or oils on the wall slow the process and reduce bonding strength. Using a primer on tricky surfaces can balance absorption. Prep work pays off in better dry times and cleaner results.
Spackle Ingredients
Spackles use base materials, like gypsum, vinyl, or acrylic. Vinyl and acrylic compounds often dry faster and resist cracking. Gypsum-based products dry more slowly but provide a more rigid surface. Some mixes include drying accelerators, while others aim for flexibility. Always check the label for what’s inside and how long it takes to dry. Manufacturer specs help set realistic expectations. Choosing the right formula reduces wait time and avoids project setbacks.
How to Tell If Spackle is Fully Dry
A patch may look dry but still be damp underneath. Dryness depends on the depth, environment, and product type. Touch alone isn’t always enough to confirm. Use multiple signs before sanding or painting.
Look for Color and Feel Changes
Dry spackle typically turns lighter in color as moisture leaves. It likely holds moisture inside if it still looks darker than the wall. Press the patch to check for firmness; it should feel solid, not spongy. Sanding should produce fine dust without clogging the sandpaper. If sanding feels sticky or grainy, it’s not ready. Use your fingertip and eyes together to decide. Waiting a little longer often prevents rework.
Know the Difference Between Dry and Cured
Dry to the touch doesn’t mean fully cured. Curing is the final stage where the spackle reaches its maximum strength. Lightweight products may cure in a few hours, but deep or heavy patches take longer. If you paint before curing, moisture can get trapped, causing bubbling or peeling. Check your product’s cure time for accuracy. For deeper spots, 24 hours is a safe wait. Don’t rush this final stage; it holds the whole repair together.
Ways to Speed Up Spackle Drying Safely
Faster drying helps keep your timeline on track, but shortcuts can backfire. Instead of rushing, adjust your methods for quicker and safer results. Focus on your environment, product choice, and technique. These improvements make a noticeable difference.
Use Air Movement and Dry Conditions
Fans help dry spackle faster by moving air across the room. Aim for indirect airflow to avoid drying just the surface. Direct wind can cause cracking if the outer layer dries first. A dehumidifier also helps reduce moisture in humid rooms. Combine both for the best results in basements or bathrooms. Keep windows closed if the outside air is damp. Dry air plus steady movement improves drying time without damage.
Apply Spackle in Thin, Smooth Layers
Thin applications dry faster and reduce waiting time between coats. Don’t overfill holes with one thick layer; build it up slowly. Each coat should be no more than ¼ inch thick. Allow complete drying between layers to avoid internal moisture issues. Use a putty knife to smooth each coat and feather the edges. It also cuts down on sanding time later. Multiple thin coats create a cleaner finish and stronger hold.
Pick Fast-Dry Products for Quick Fixes
Fast-drying spackles are made for time-sensitive projects like rentals or flips. These dry in minutes but must be applied carefully since they harden quickly. They’re not ideal for wide or deep repairs, but they work well for nail holes or light dents. Because they cure so fast, you’ll need to sand and paint right after drying. Always check the product label for full dry and cure times. Not all fast-dry products are equal. Use them only where speed won’t compromise the repair.
When to Start Painting After Spackle
You can paint once the spackle is fully dry and cured. Painting too soon traps moisture, causing bubbling or flaking later. Always wait longer for deeper patches or slower-drying formulas. Timing this step right improves paint quality and finish.
Prime Before Painting for a Smooth Finish
Primer helps paint stick and hides texture differences in patched areas. Use a drywall or stain-blocking primer after sanding the spackle smooth. It prevents the spackle from absorbing too much paint and showing through. Let the primer dry thoroughly before applying color coats. A well-primed surface creates a uniform look across the wall. This extra step helps blend the repair with the surrounding areas. The result is a clean, professional-looking finish.
Give Large Patches More Time
Larger patches hold more moisture and take longer to dry and cure. Even when the outside feels ready, the inside may still be damp. If your repair goes deeper than half an inch, give it at least 24 hours. Add more time if the room is cold or humid. Painting too soon on thick patches often leads to uneven surfaces or texture sinking. Check with a finger press and sanding test before moving ahead. Better timing means better long-term durability.
Get the Best Results by Drying Spackle Correctly
Spackle doesn’t just cover a flaw—it sets the stage for everything that follows. Rushing this step can turn a quick fix into a recurring issue. Whether managing a property, prepping for sale, or keeping your space in top shape, timing the dry phase right keeps things smooth. When the surface is properly dried and prepped, professional painting services can deliver a flawless, lasting finish every time.
Before you prime or paint, brush up on what matters. Visit our Euro Painting blog to learn more!